
개발자를 향해...
[React Native로 날씨앱 만들기] #1 0 Layouts with Flexbox in React Native ~ #1.2 Getting the Location 본문
[React Native로 날씨앱 만들기] #1 0 Layouts with Flexbox in React Native ~ #1.2 Getting the Location
eugeneHwang1124 2021. 2. 25. 15:47이 글은 노마드 코더 님의 [ React Native로 날씨앱 만들기 ] 를 수강하며 작성하였습니다.
#1.0 Layouts with Flexbox in React Native
react native에서 flex의 기본은 cloumn이기 때문에 모든 flex박스는 row이다. 따라서 여러개를 나열하면 아래로 정렬된다. 물론 flexDirection으로 방향을 정의할 수 있다.
다음과 같이 바꾸면
import { StatusBar } from 'expo-status-bar';
import React from 'react';
import { StyleSheet, Text, View } from 'react-native';

export default function App() {
  return (
    <View style={styles.container}>
      <View style={styles.yellowView}><Text>Hello</Text></View>
      <View style={styles.blueView}><Text>Bye~</Text></View>
      <StatusBar style="auto" />
    </View>
  );
}

const styles = StyleSheet.create({
  container: {
    flex: 1,
  },
  yellowView:{
    flex:1,
    backgroundColor:"yellow"
  },
  blueView:{
    flex:1,
    backgroundColor:"blue"
  }
});
아래와 같이 작동한다.
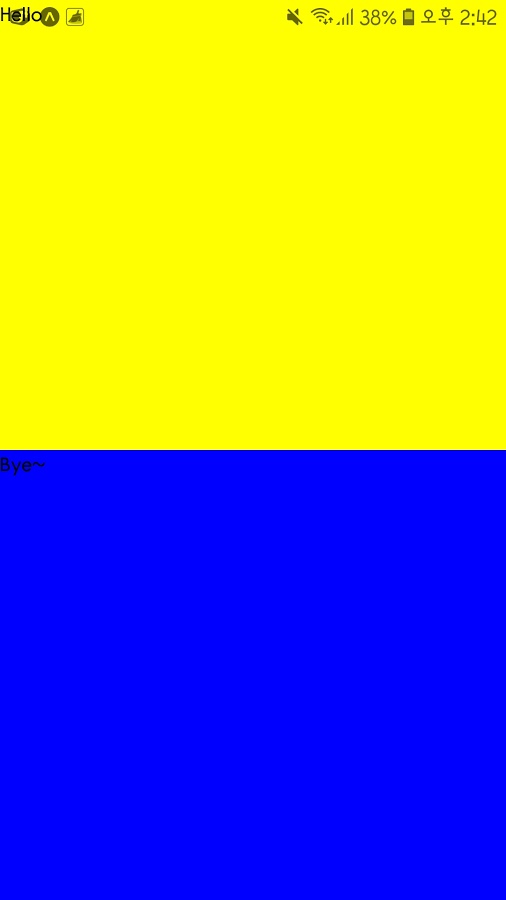
스타일시트의 flex값 1은 모든 공간을 사용한다는 의미이다. 그 컨테이너 안에 똑같이 모든 공간을 쓰게 된다. 따라서 만약 파란 부분의 flex 값이 2라면 1:2로 나뉘게 된다.
이제 더이상 width와 height로 정할 힐요가 없다.
#1.1 Loading Screen
이제 화면 원하는 위치에 글자를 넣어보자.
우선 Loading 화면을 만들자. weather-app 하단에 Loading.js파일을 만든다. 그리고 다음과 같이 작성한다.
import React from "react";
import {StyleSheet, Text, View} from "react-native";

function Loading(){
    return
    <View style={styles.container}>
        <Text>Gettin the Weather Info...</Text>
    </View>
}

const styles=StyleSheet.create({
    container:{
        flex:1,
    }
});
이제 이렇게 생성한 함수를 App.js에서 불러와보자.
import React from "react";
import Loading from "./Loading";

export default function App() {
  return <Loading />;
}
실행은 되지만 글자와 배경을 지정해주기 위해 Loading.js를 수정해주자.
import React from "react";
import { StyleSheet, Text, View } from "react-native";

export default function Loading() {
  return (
    <View style={styles.container}>
      <Text style={styles.text}>Getting Weather Info...</Text>
    </View>
  );
}

const styles = StyleSheet.create({
    container: {
      flex: 1,
      justifyContent: "flex-end",
      paddingHorizontal: 30,
      paddingVertical: 100,
      backgroundColor: "#FDF6AA"
    },
    text: {
      color: "#2c2c2c",
      fontSize: 30
    }
  });
#1.2 Getting the Location
이제 현재 위치를 가져오기 위해 geolocation을 쓰러면 import 해주어야한다. 문제는 이 geolocatino은 그렇게 강력한 기능이 없다. 따라서 location을 사용해보자. 여기에는 굉장히 다양한 api들이 있다. 우리는 expo를 통해 원하는 것만 다운받아서 쓸 수 있다.
expo install expo-loaction을 해주자
그리고 App.js에 코드를 다음과 같이 작성한다.
import React from "react";
import Loading from "./Loading";
import * as Location from "expo-location";

export default class extends React.Component {
  getLocation=async()=>{
    const location =await Lacation.getCurrentPositionAsync();
    console.log(location);
  }
  componentDidMount(){
    this.getLocation
  }
  render(){
    return <Loading />;
  }
}
그러나 우리는 사용자에게서 권한을 받지 않았기 때문에 실행이 되지 않는 것을 볼 수 있다.
이제 권한 요청을 해보자


