
개발자를 향해...
[React Native로 날씨앱 만들기] #2.3 Background Gradient ~ #2.5 Conclusions 본문
[React Native로 날씨앱 만들기] #2.3 Background Gradient ~ #2.5 Conclusions
eugeneHwang1124 2021. 2. 27. 16:54이 글은 노마드 코더 님의 [ React Native로 날씨앱 만들기 ] 를 수강하며 작성하였습니다.
React Native로 날씨앱 만들기 - 노마드 코더 Nomad Coders
React Native Fundamentals
nomadcoders.co
#2.3 Background Gradient
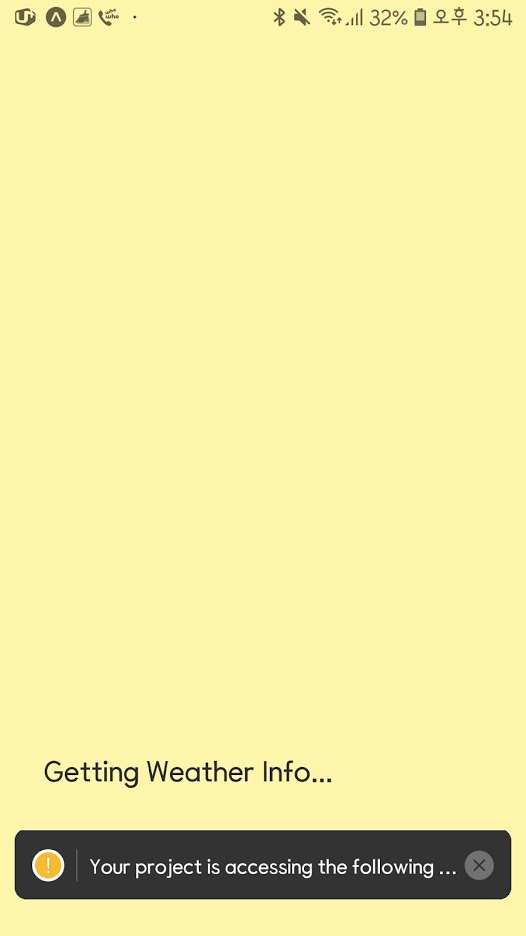
배경에 그라디언트 효과를 주자.
expo install expo-linear-gradient 로 다운로드 해준다. 그리고 Weather.js 상단에 import 해준다.
import { LinearGradient } from 'expo-linear-gradient';linearGradient는 view와 같은 역할이기 때문에 style에 container를 지정해주고 기존의 가장 상단의 view는 지워주자.
import { LinearGradient } from 'expo-linear-gradient';
export default function Weather({temp}){
return (
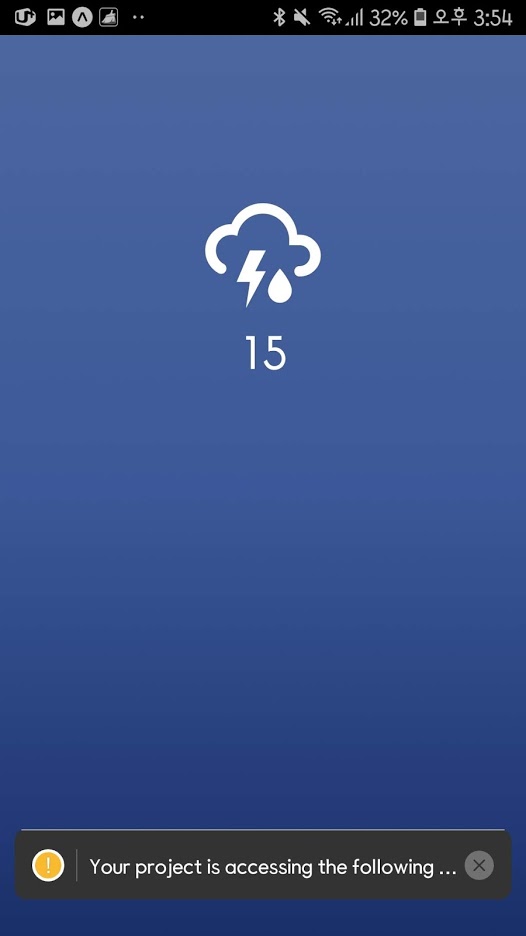
<LinearGradient
// Button Linear Gradient
colors={['#4c669f', '#3b5998', '#192f6a']}
style={styles.container}
>
<View style={styles.icon}>
<MaterialCommunityIcons size={86} name="weather-lightning-rainy" color="white" />
<Text style={styles.temp}>{temp}</Text>
</View>
<View style={styles.texts}></View>
</LinearGradient>
);
}
이제 상단 상태바에 글자들이 까만색으로 잘 안보이게 되니 글자를 밝은 글자로 바꾸어보자. StatusBar를 import하고 다음과 같이 설정해주자.
import { View, Text, StyleSheet, StatusBar } from "react-native";

<StatusBar barStyle="light-content"/>
다음과 같이 배경에 따라 색이 흰색이나 검은색으로 바뀌는 것을 볼 수 있다.
이제 날씨에 따라 아이콘을 다르게 나타나도록 해보자.
object를 선언한다.
const weatherOptions={
    Haze: {
        iconName: "weather-hail",
        gradient: ["#4DA0B0", "#D39D38"]
      },
      Thunderstorm: {
        iconName: "",
        gradient: []
      },
      Drizzle: {
        iconName: "",
        gradient: []
      },
      Rain: {
        iconName: "weather-rainy",
        gradient: []
      },
      Snow: {
        iconName: "snowflake",
        gradient: []
      },
      Atmosphere: {
        iconName: "",
        gradient: []
      },
      Clear: {
        iconName: "weather-sunny",
        gradient: []
      },
      Clouds: {
        iconName: "cloud",
        gradient: []
      },
      Haze: {
        iconName: "",
        gradient: []
      },
      Mist: {
        iconName: "",
        gradient: []
      },
      Dust: {
        iconName: "",
        gradient: []
      }
    };
날씨 상태별로 아이콘 이름을 불러올 수 있도록 아이콘 렌더링 부분에서 선언한 object를 사용한다. 비어있는 부분은 원하는 아이콘을 사용한다.( icons.expo.fyi/)
<MaterialCommunityIcons size={86} name={weatherOptions[condition].iconName} color="white" />그리고 각 날씨별로 배경의 그라디언트 색을 변화시키기 위해 원하는 색상을 gradient에 값으로 넣어준다.( 색 참고:uigradients.com/#SlightOceanView )
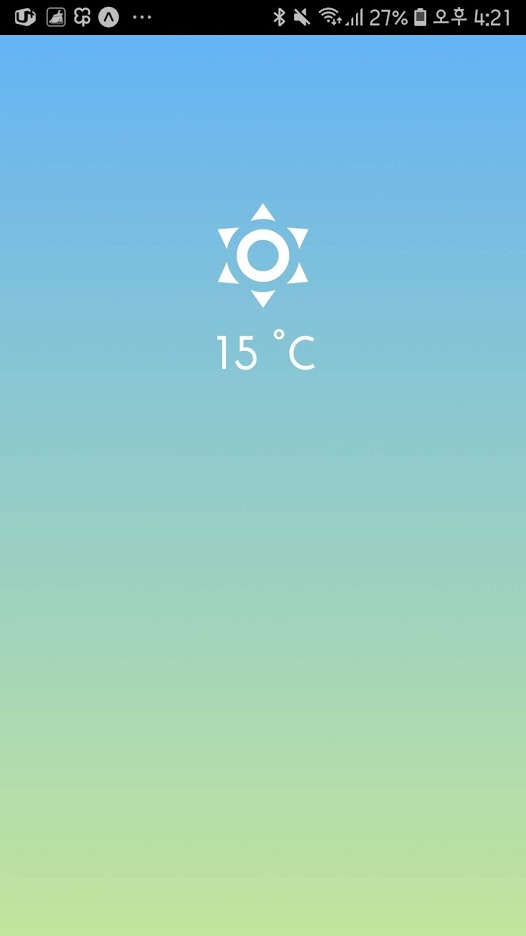
Clear: {
        iconName: "weather-sunny",
        gradient: ["#64b3f4", "#c2e59c"]
      },

<LinearGradient
        // Button Linear Gradient
        colors={weatherOptions[condition].gradient}
        style={styles.container}
        >
이제 값을 할당해주고 실행시키면 다음과 같다.
import React from "react";
import { View, Text, StyleSheet, StatusBar } from "react-native";
import PropTypes from "prop-types";
import { MaterialCommunityIcons } from '@expo/vector-icons';
import { LinearGradient } from 'expo-linear-gradient';

const weatherOptions={
    Haze: {
        iconName: "weather-hail",
        gradient: ["#4DA0B0", "#D39D38"]
      },
      Thunderstorm: {
        iconName: "",
        gradient: []
      },
      Drizzle: {
        iconName: "",
        gradient: []
      },
      Rain: {
        iconName: "weather-rainy",
        gradient: ["#bdc3c7","#2c3e50"]
      },
      Snow: {
        iconName: "snowflake",
        gradient: ["#2193b0","#6dd5ed"]
      },
      Atmosphere: {
        iconName: "",
        gradient: []
      },
      Clear: {
        iconName: "weather-sunny",
        gradient: ["#64b3f4", "#c2e59c"]
      },
      Clouds: {
        iconName: "cloud",
        gradient: ["#0F2027","#203A43","#2C5364"]
      },
      Mist: {
        iconName: "",
        gradient: []
      },
      Dust: {
        iconName: "",
        gradient: []
      }
    };

export default function Weather({temp, condition}){
    return (
        <LinearGradient
        // Button Linear Gradient
        colors={weatherOptions[condition].gradient}
        style={styles.container}
        >
            <StatusBar barStyle="light-content"/>
            <View style={styles.icon}>
                <MaterialCommunityIcons size={86} name={weatherOptions[condition].iconName} color="white" />
                <Text style={styles.temp}>{temp} ˚C</Text>
            </View>
            <View style={styles.texts}></View>
        </LinearGradient>
    );
}

Weather.propTypes = {
    temp: PropTypes.number.isRequired,
    condition : PropTypes.oneOf(["Thunderstorm",
    "Drizzle",
    "Rain",
    "Snow",
    "Atmosphere",
    "Clear",
    "Clouds",
    "Haze",
    "Mist",
    "Dust"]).isRequired
  };

const styles = StyleSheet.create({
    container: {
      flex: 1,
        justifyContent:"center",
        alignItems:"center",
        paddingTop: Platform.OS === `ios` ? 0 : Expo.Constants.statusBarHeight,
        backgroundColor:"#FDF6AA"
    },
    icon:{
        flex:1,
        justifyContent:"center",
        alignItems:"center"
    },
    texts:{
        flex:1,
        justifyContent:"center",
        alignItems:"center"
    },
    temp:{
        fontSize:32,
        color: "#FFFFFF",
    }
})
#2.4 Titles and Subtitles
이제 화면 아랫부분에 흰색 텍스트로 제목과 설명을 넣어주자.
return (
        <LinearGradient
        // Button Linear Gradient
        colors={weatherOptions[condition].gradient}
        style={styles.container}
        >
            <StatusBar barStyle="light-content"/>
            <View style={styles.icon}>
                <MaterialCommunityIcons size={86} name={weatherOptions[condition].iconName} color="white" />
                <Text style={styles.temp}>{temp} ˚C</Text>
            </View>
            <View style={{...styles.texts, ...styles.textContainer}}>
                <Text style={styles.title} >title</Text>
                <Text style={styles.subtitle} >subtitle</Text>
            </View>
        </LinearGradient>
    );

    const styles = StyleSheet.create({
    title:{
        color:"white",
        fontSize:44,
        fontWeight:"300",
        marginBottom:10
    },
    subtitle:{
        color:"white",
        fontWeight:"600",
        fontSize:24,
    },
    textContainer:{
        paddingHorizontal:20,
        alignItems:"flex-start"
    }
})
텍스트를 감싸는 view는 두개의 스타일을 적용하도록 한다.
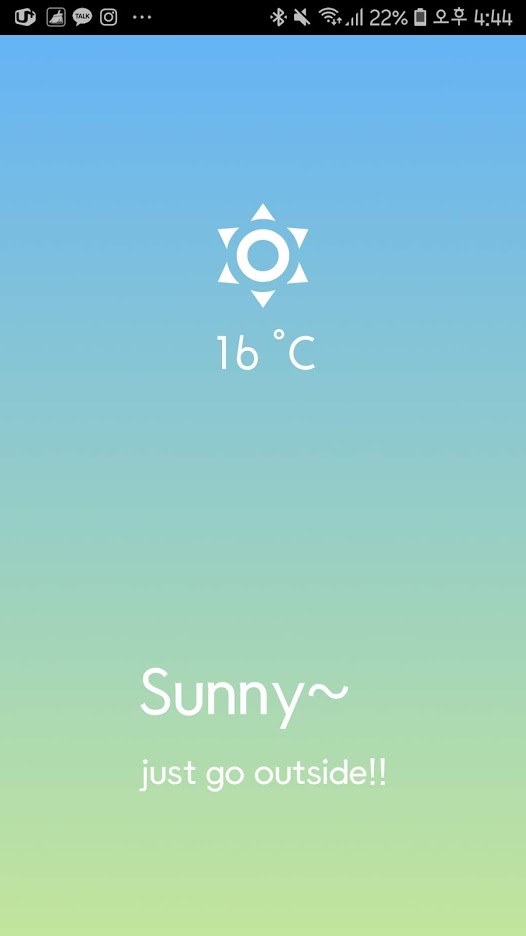
날씨 상태마다 문구가 다르기 때문에 weatherOptions 에 각 항목마다 title, subtitle 부분을 추가하자.
//weatherOptions 부분

Clear: {
        iconName: "weather-sunny",
        gradient: ["#64b3f4", "#c2e59c"],
        title:"Sunny~",
        subtitle:"just go outside!!"
    },

//render 하단 부분

<View style={{...styles.texts, ...styles.textContainer}}>
	<Text style={styles.title} >{weatherOptions[condition].title}</Text>
    <Text style={styles.subtitle} >{weatherOptions[condition].subtitle}</Text>
</View>
#2.5 Conclusions
이제 완성되었다. 만약 옵션에 없는 값을 받아온다면 앱은 에러를 내겠지만 어떤 에러인지 알려줄 것이다.
끝


